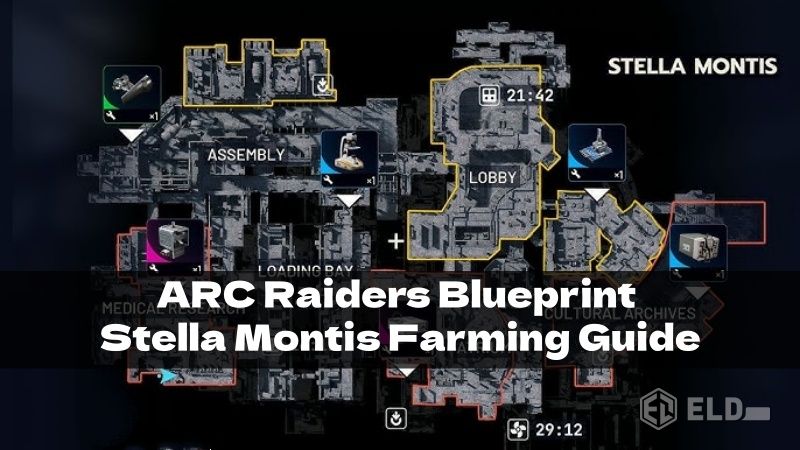
Blueprints are one of the most valuable progression ARC Raiders items, and knowing where to farm them efficiently can drastically speed up your gearing and crafting curve. On Stella Montis, there are several overlooked locations that consistently drop blueprints at a rate most players simply ignore. This guide breaks down the most reliable blueprint farming routes, how to chain them efficiently, and when it's actually safe to run them.
Loading Bay Breach Containers (Top-Tier, Low Traffic)
The first and most consistent blueprint spot is located just outside the loading bay. Head to the uppermost floor and find the familiar breach room filled with red lockers. Instead of focusing on the lockers themselves, look for the door directly next to that room leading into the central corridor.
As soon as you step through that door, turn left. You'll find two breachable containers tucked away in plain sight. These containers are shockingly overlooked by most players who sprint past them toward more obvious ARC Raiders loot rooms. Despite that, they have an extremely high blueprint drop rate-often outperforming the nearby breach room itself.
In repeated runs, one of these two containers almost always yields a blueprint. Because they're fast to access and rarely contested, they should be your priority whenever you spawn near the loading bay.
Eastern Tunnel: Blueprint Density Heaven
The second major farming location is the Eastern Tunnel, clearly marked on the map and conveniently close to two different spawn points-one of them practically next door. At the back of the tunnel, you'll find a dense cluster of breachable containers similar to those in the Cultural Archives.
What makes this area exceptional is loot density. There are numerous containers packed into a small space, allowing you to breach rapidly and move from box to box with minimal downtime. Some containers rotate between lootable and non-lootable states, so make sure to check every single one, including:
· Containers near the back corner
· Boxes down on the tracks
· Breachables tucked along the tunnel walls
Blueprints drop here at an incredibly consistent rate. It's common to pull one blueprint from one container and another from a different container in the same run.
Even better, a rope at the back-left of the tunnel leads directly to the Seed Vault exit, allowing for fast extraction and repeat runs. This makes the Eastern Tunnel one of the most efficient blueprint farms on the entire map.
Bonus Blueprint Checks Worth Your Time
While the two locations above should be your core focus, there are several supplemental spots worth checking depending on your route:
Main Lobby Trash Cans
Near the metal detector in the lobby are one to three trash cans that frequently spawn blueprints. If your path takes you through the lobby, always check these-they're quick and surprisingly rewarding.
Server Room Cubby Lockers (Augment Blueprints)
In a small side room with servers, you'll find two to three cubby-style lockers. These have a rare chance to drop augment blueprints, including newer ones. The drop rate is low, but since this room also contains lootable servers that spawn high-value processors, it's always worth stopping by. Few players ever loot these servers, making them a reliable fallback for profit.
Loading Bay Shipping Containers
Shipping containers in the loading bay can still drop blueprints, though they appear to have been slightly nerfed. They're less consistent than the breach container spots but remain worth checking if they haven't already been looted.
Optimal Routing and Safety Tips
Your route should always depend on where you spawn:
· Near Eastern Tunnel or Cultural Archives: Go Eastern Tunnel first.
· Near Loading Bay: Hit the two breach containers first, then rotate to Eastern Tunnel.
· Near Lobby or Server Room: Check trash cans and cubbies, then move outward.
Most importantly, avoid running these routes in full PvP lobbies. Stella Montis is small, cramped, and heavily trafficked, making PvP farming inefficient and risky. For consistent results, stick to PvE or low-threat lobbies where you can loot uninterrupted.
Final Thoughts
Stella Montis rewards players who understand its shortcuts and hidden loot flow. Once you internalize the map, these blueprint runs become fast, repeatable, and extremely profitable. Focus on overlooked breach containers, prioritize high-density loot zones, and extract efficiently. With the right routing and lobby selection, you can farm blueprints at a rate most players don't even realize is possible.